Project
HEEL: Step-by-step guidance for submitting your evaluation
24 September 2026
Gather all the required information before submitting. For a full list, see the ‘Required information’ list on the HEEL guidance page.
Go to: data.heat.ac.uk and log in using your organisation’s HEAT credentials.
On your left navigation menu, click on HEEL. (Note, you may have a longer menu than shown).
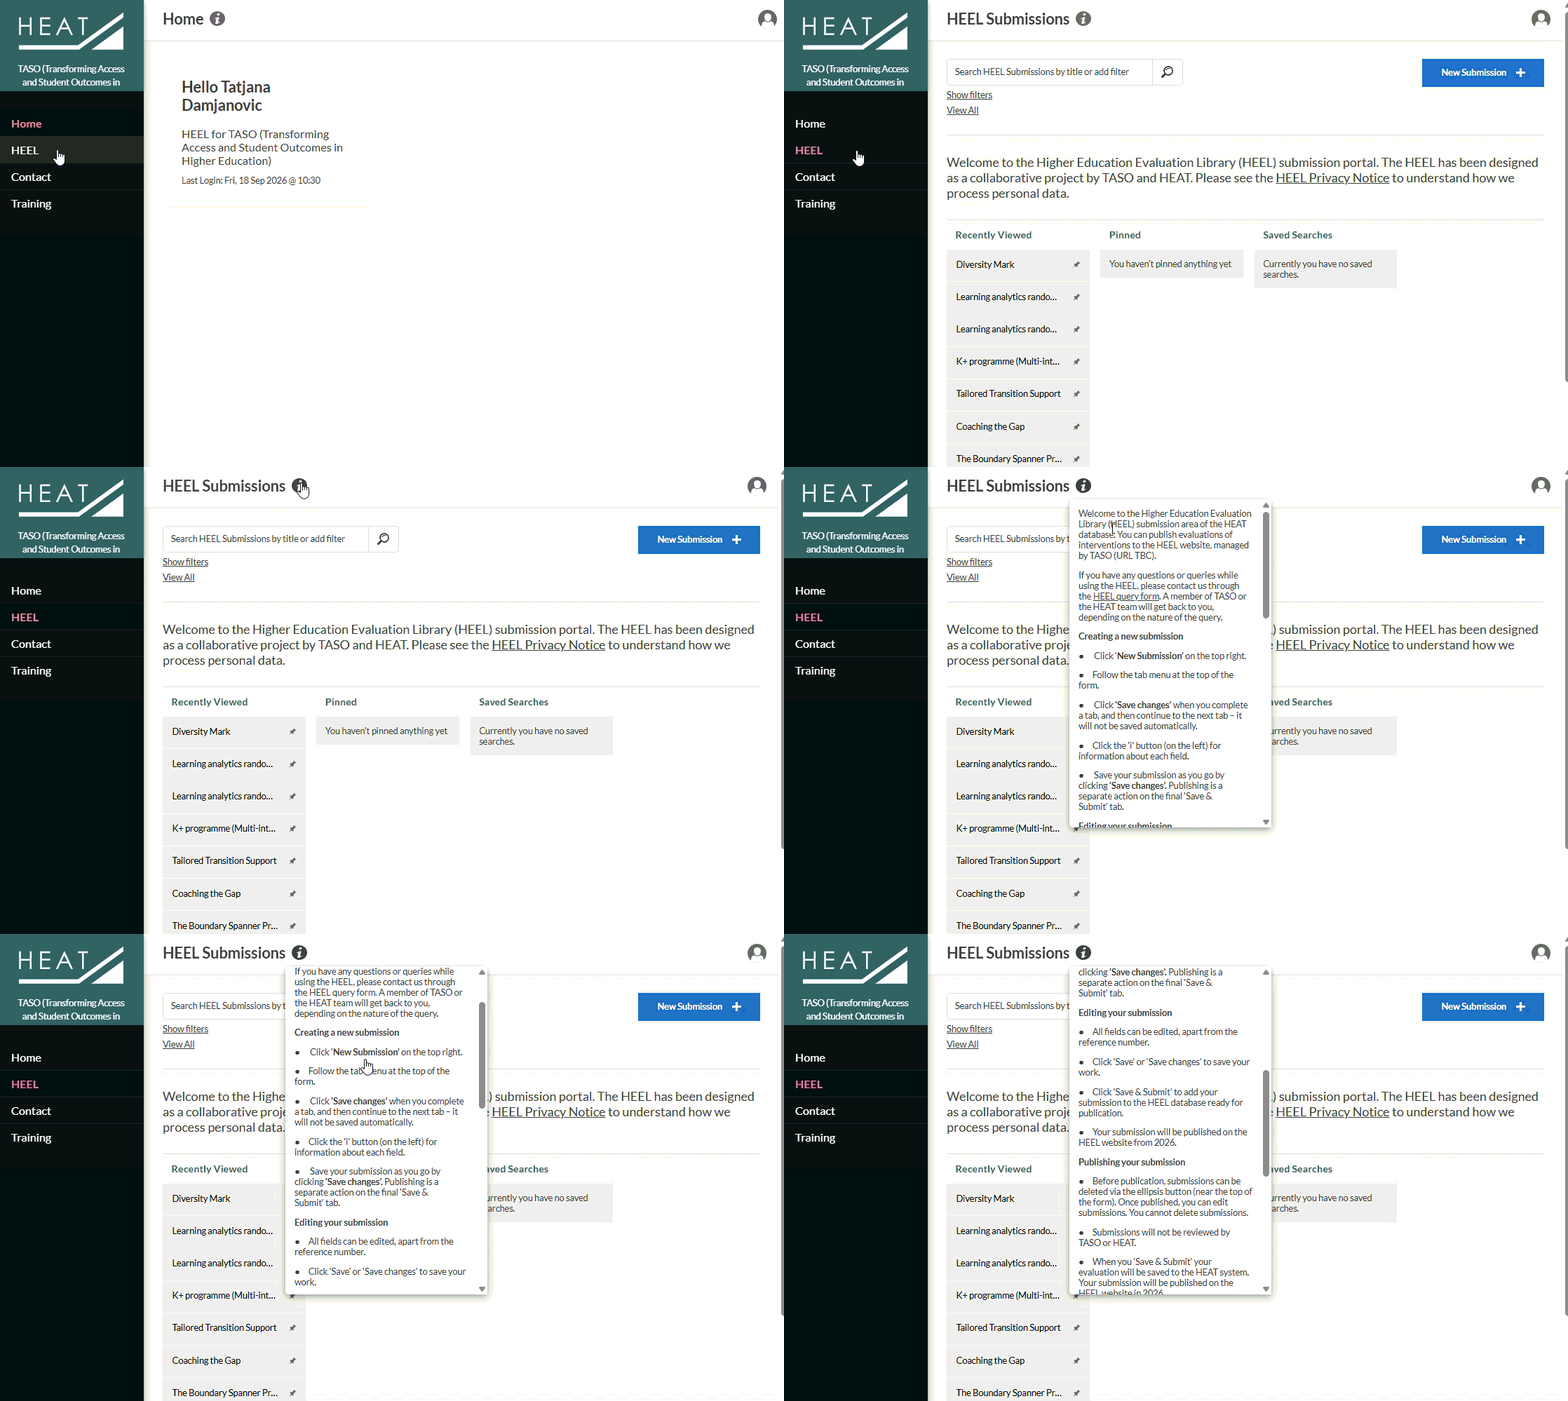
Click on the blue ‘New Submission’ box in the top right of the homepage.
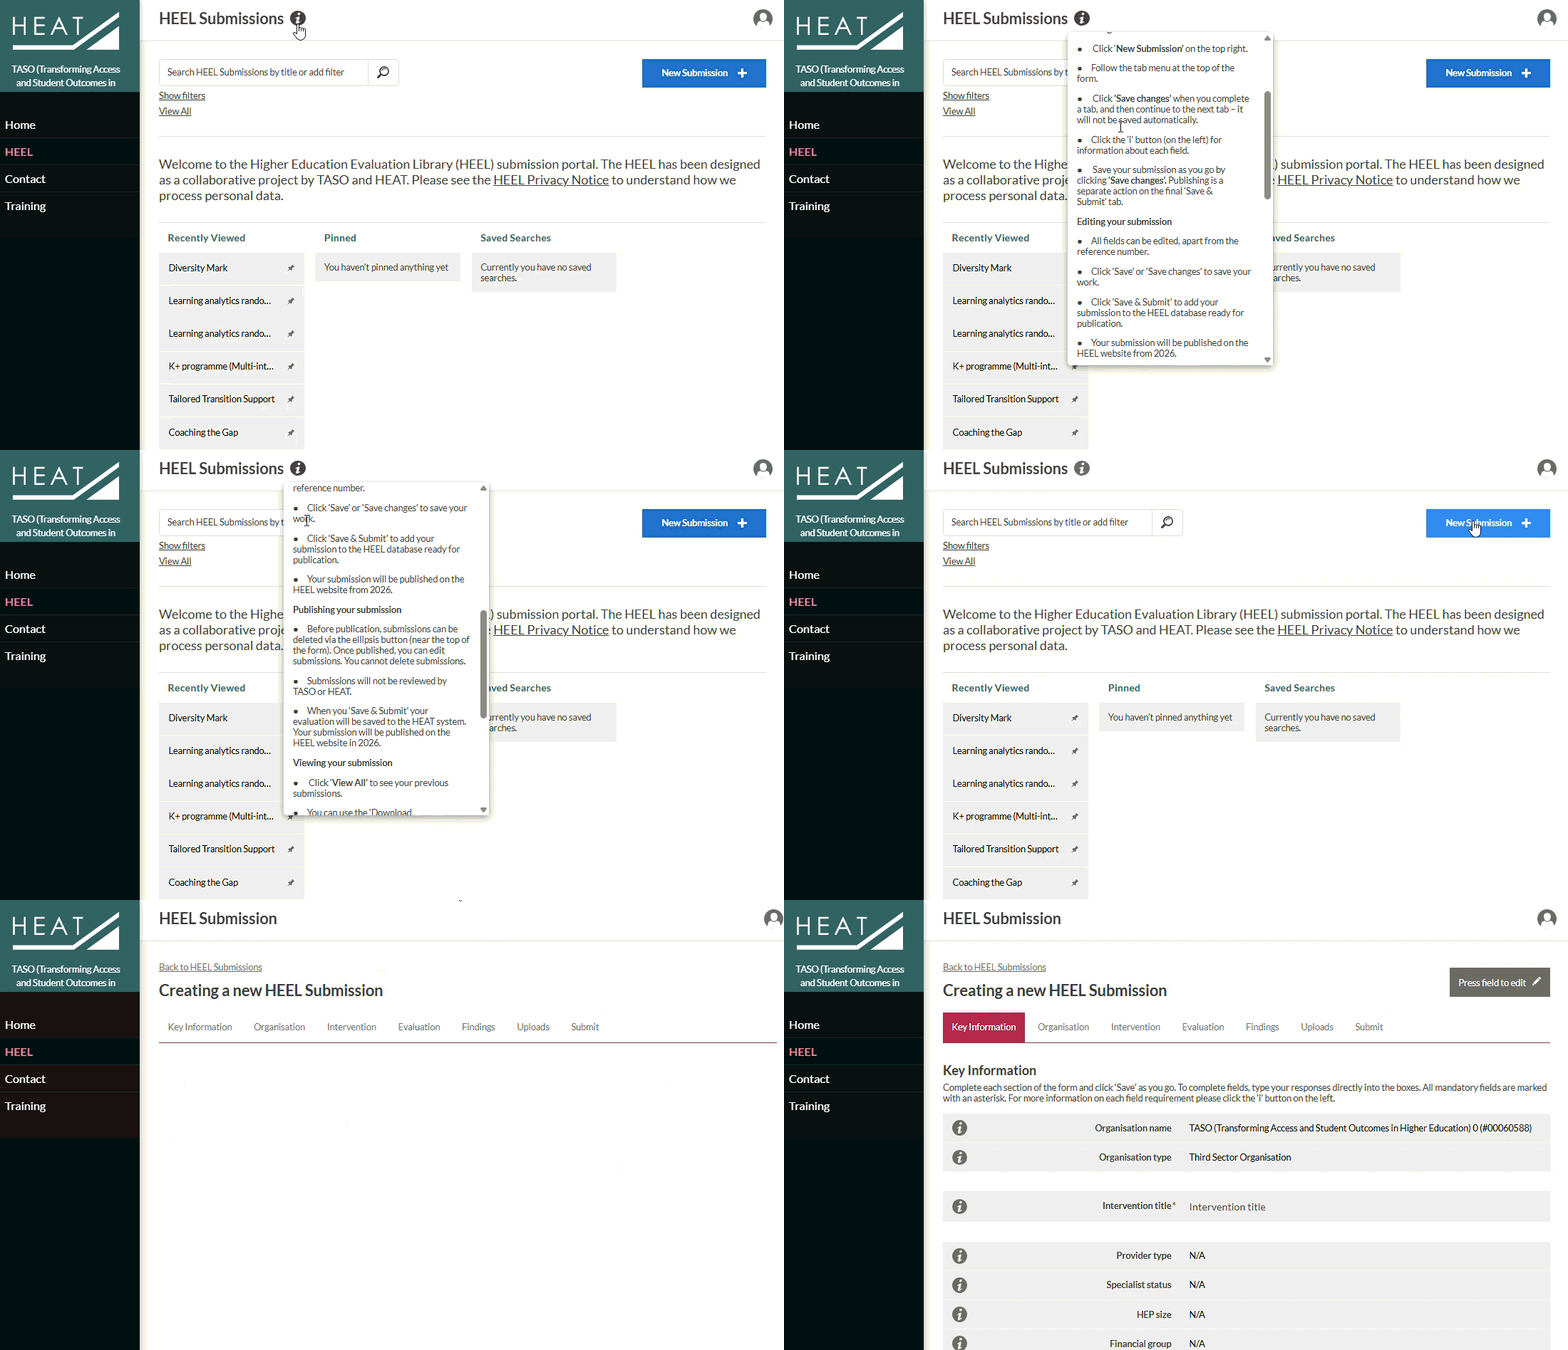
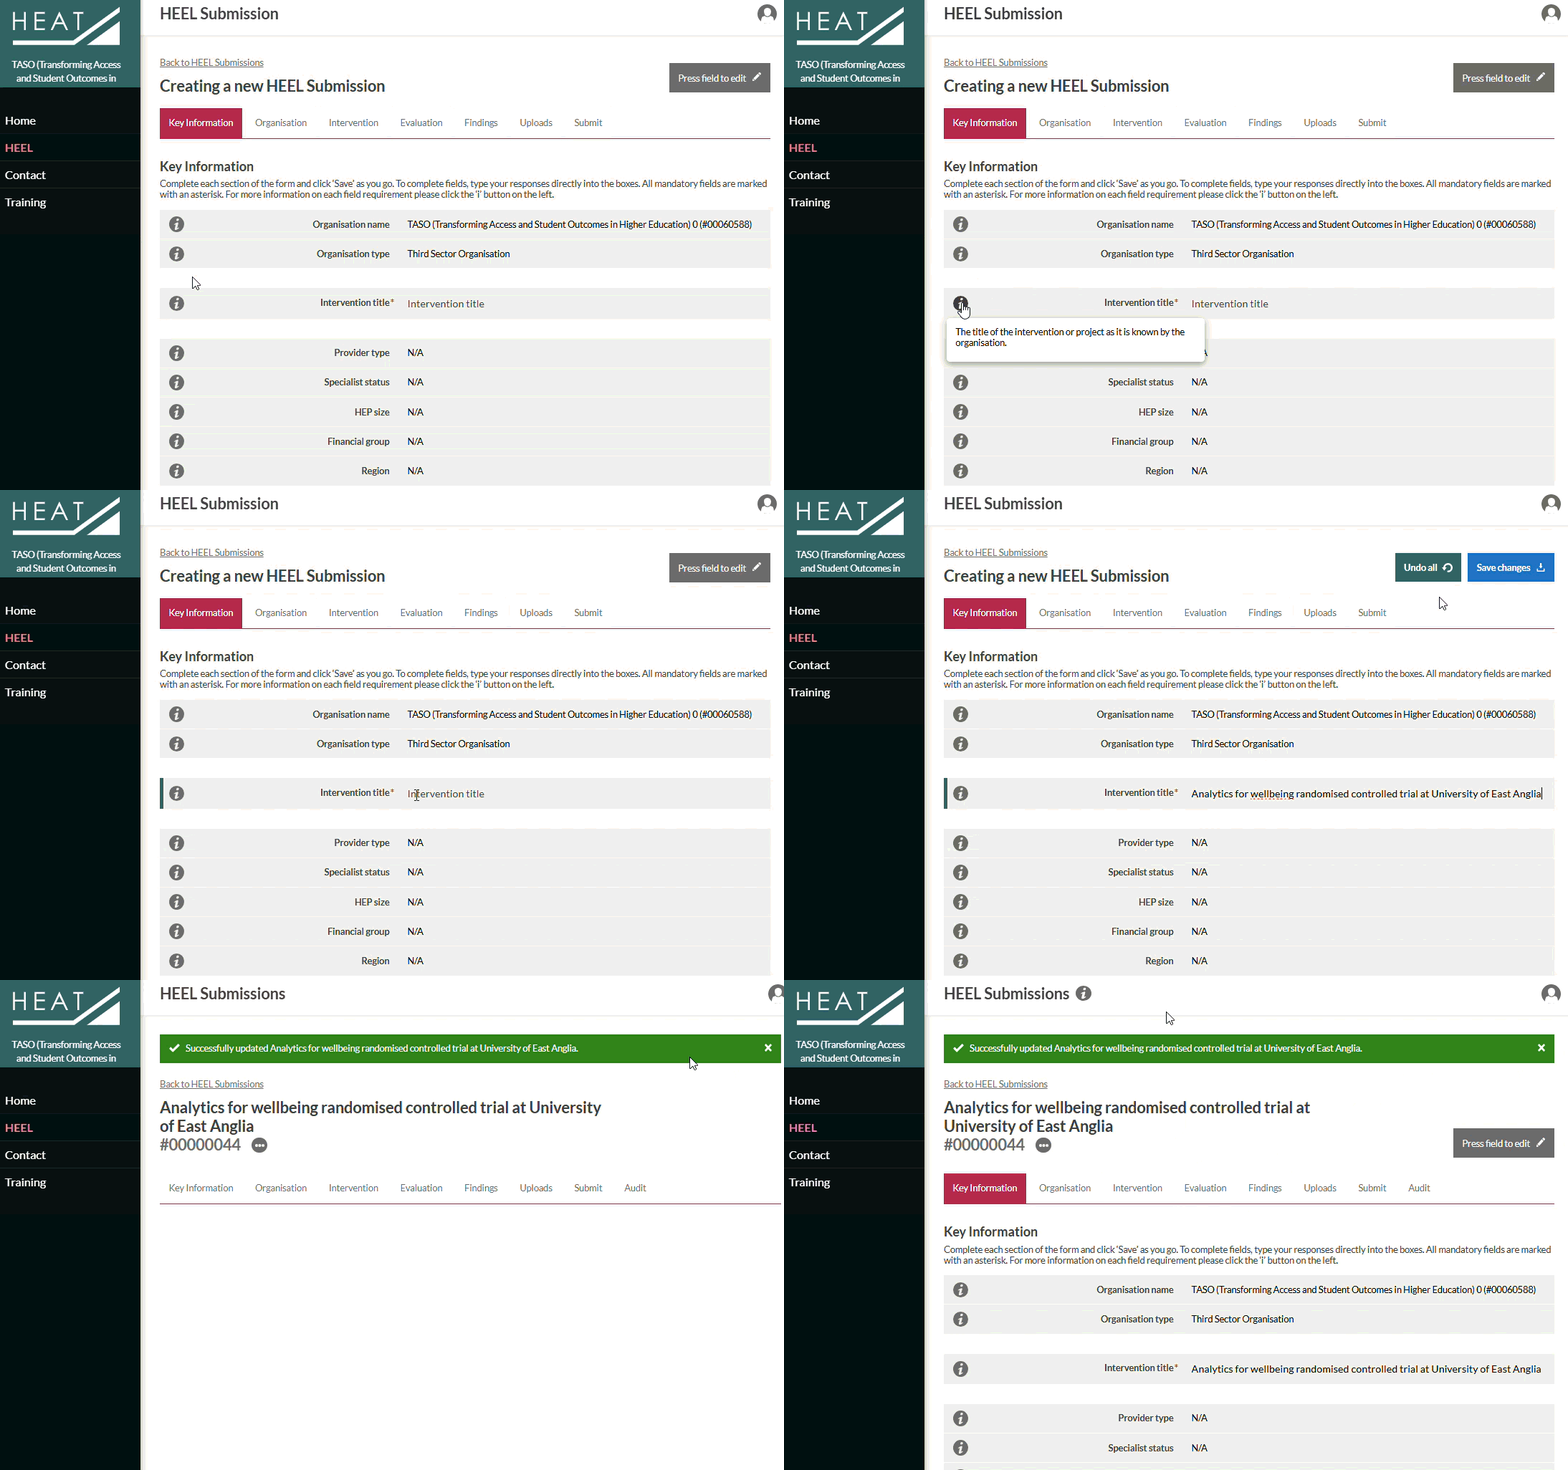
Follow through each tab, adding information as you go along.
Remember:
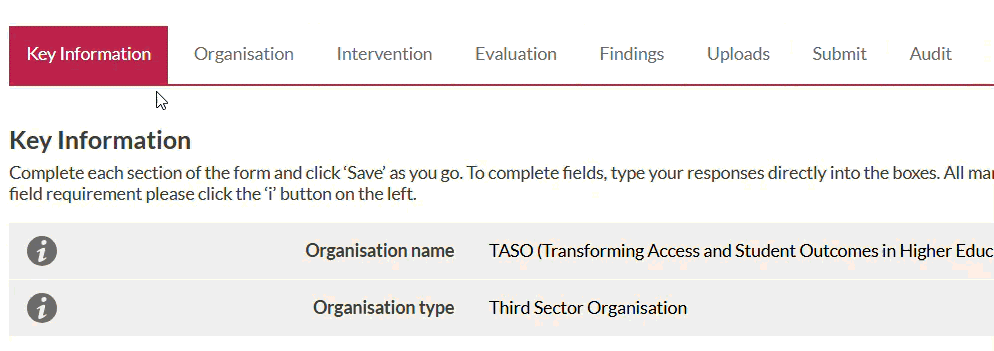
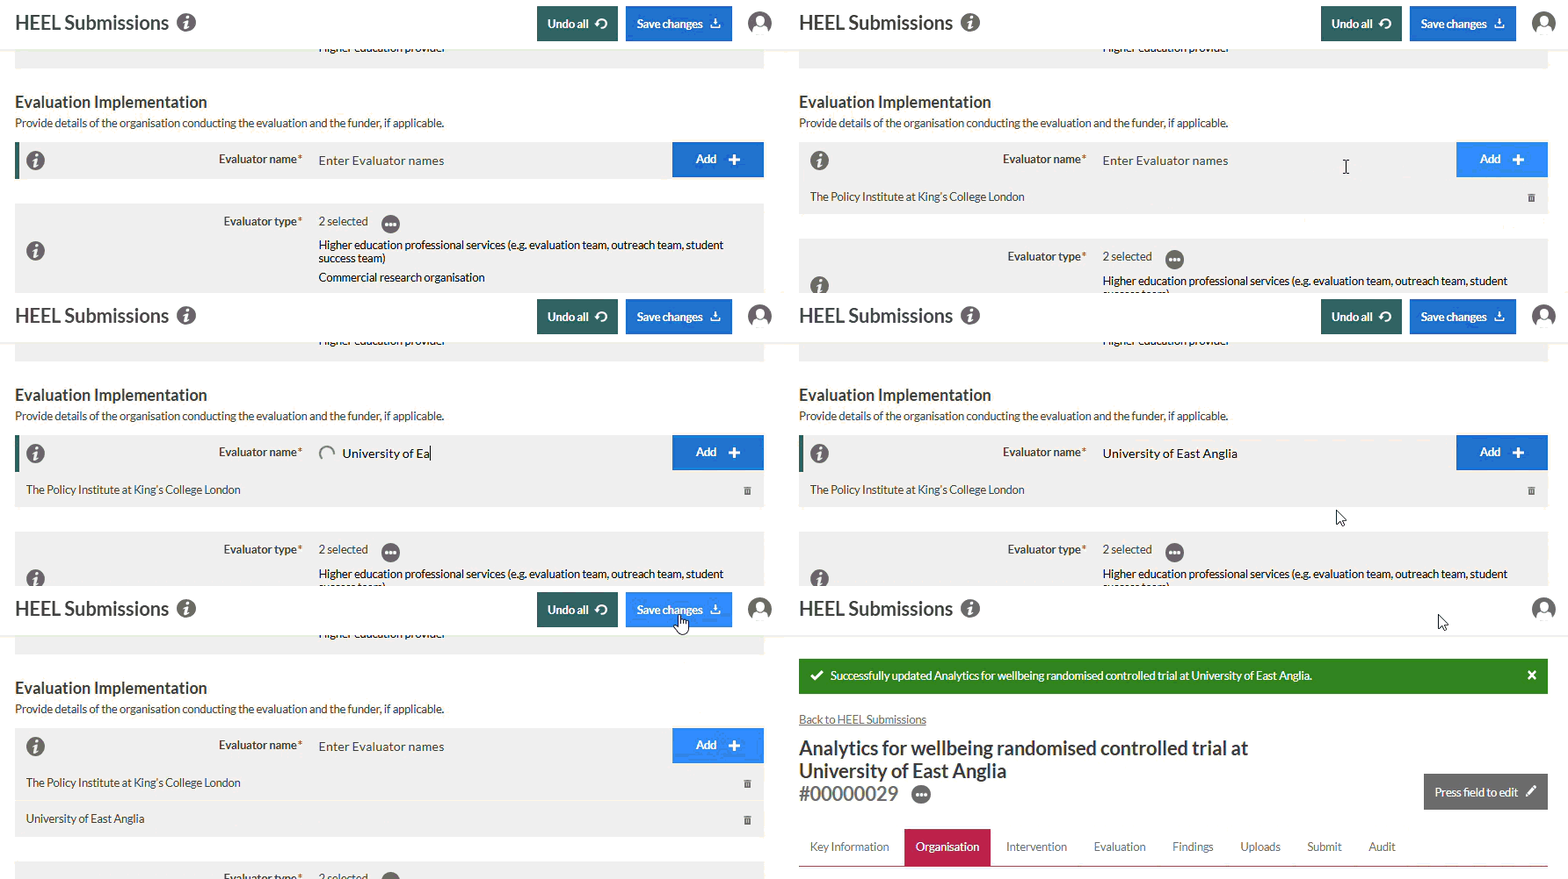
For many fields, you will be asked to either type in your information or paste in information. You then need to click ‘Add+’ in order to include.
For names of institutions, pre-existing options will appear. If your institution is not listed, simply write the name.
In most cases, you will be able to add multiple values this way.
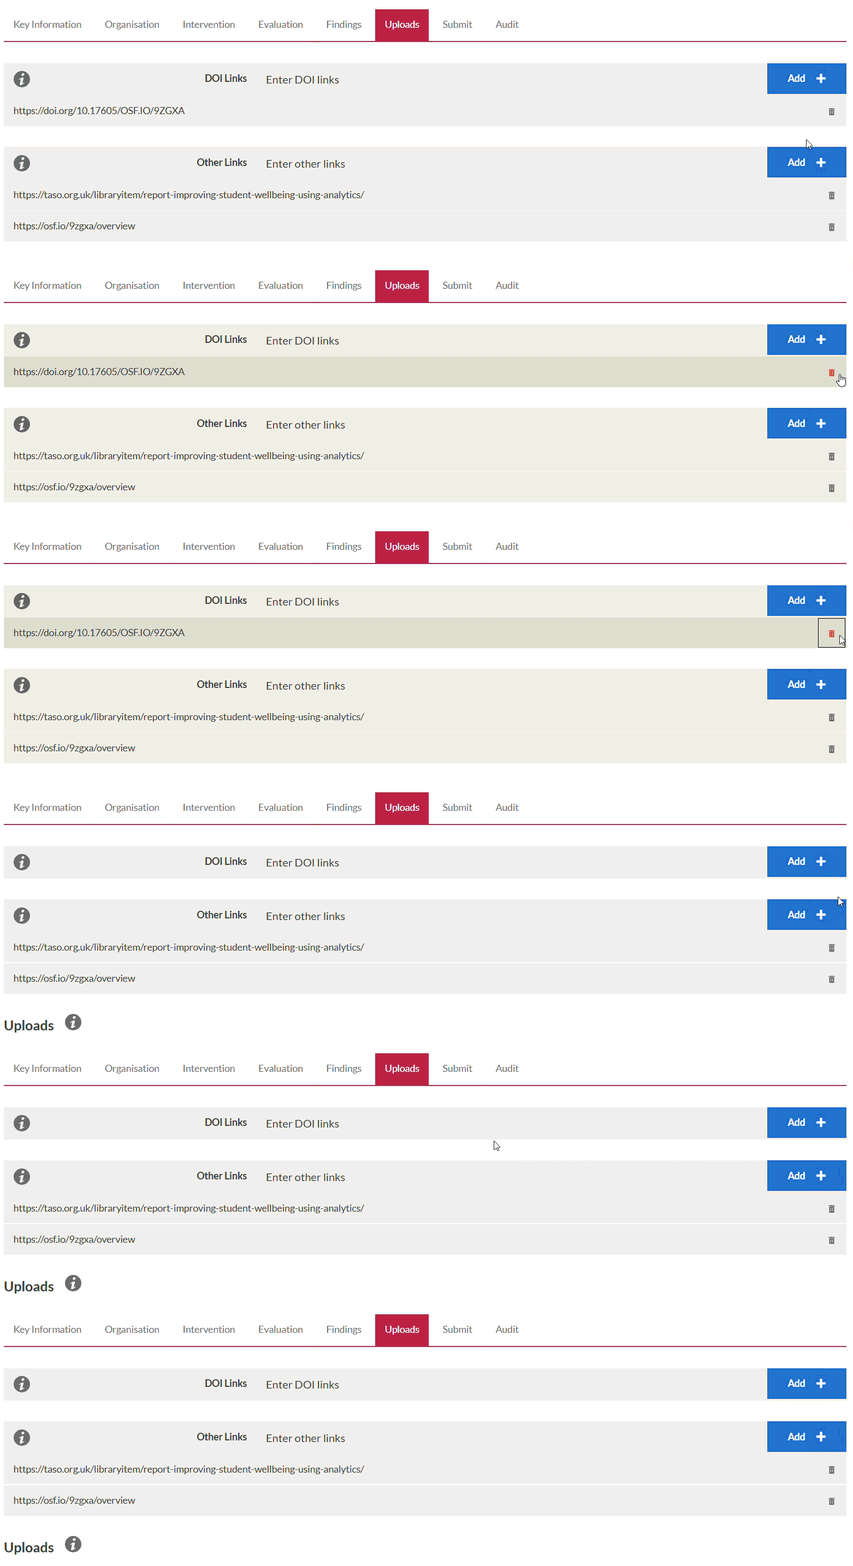
If you make an error, a small bin icon (🗑️) will appear which you can click to delete.
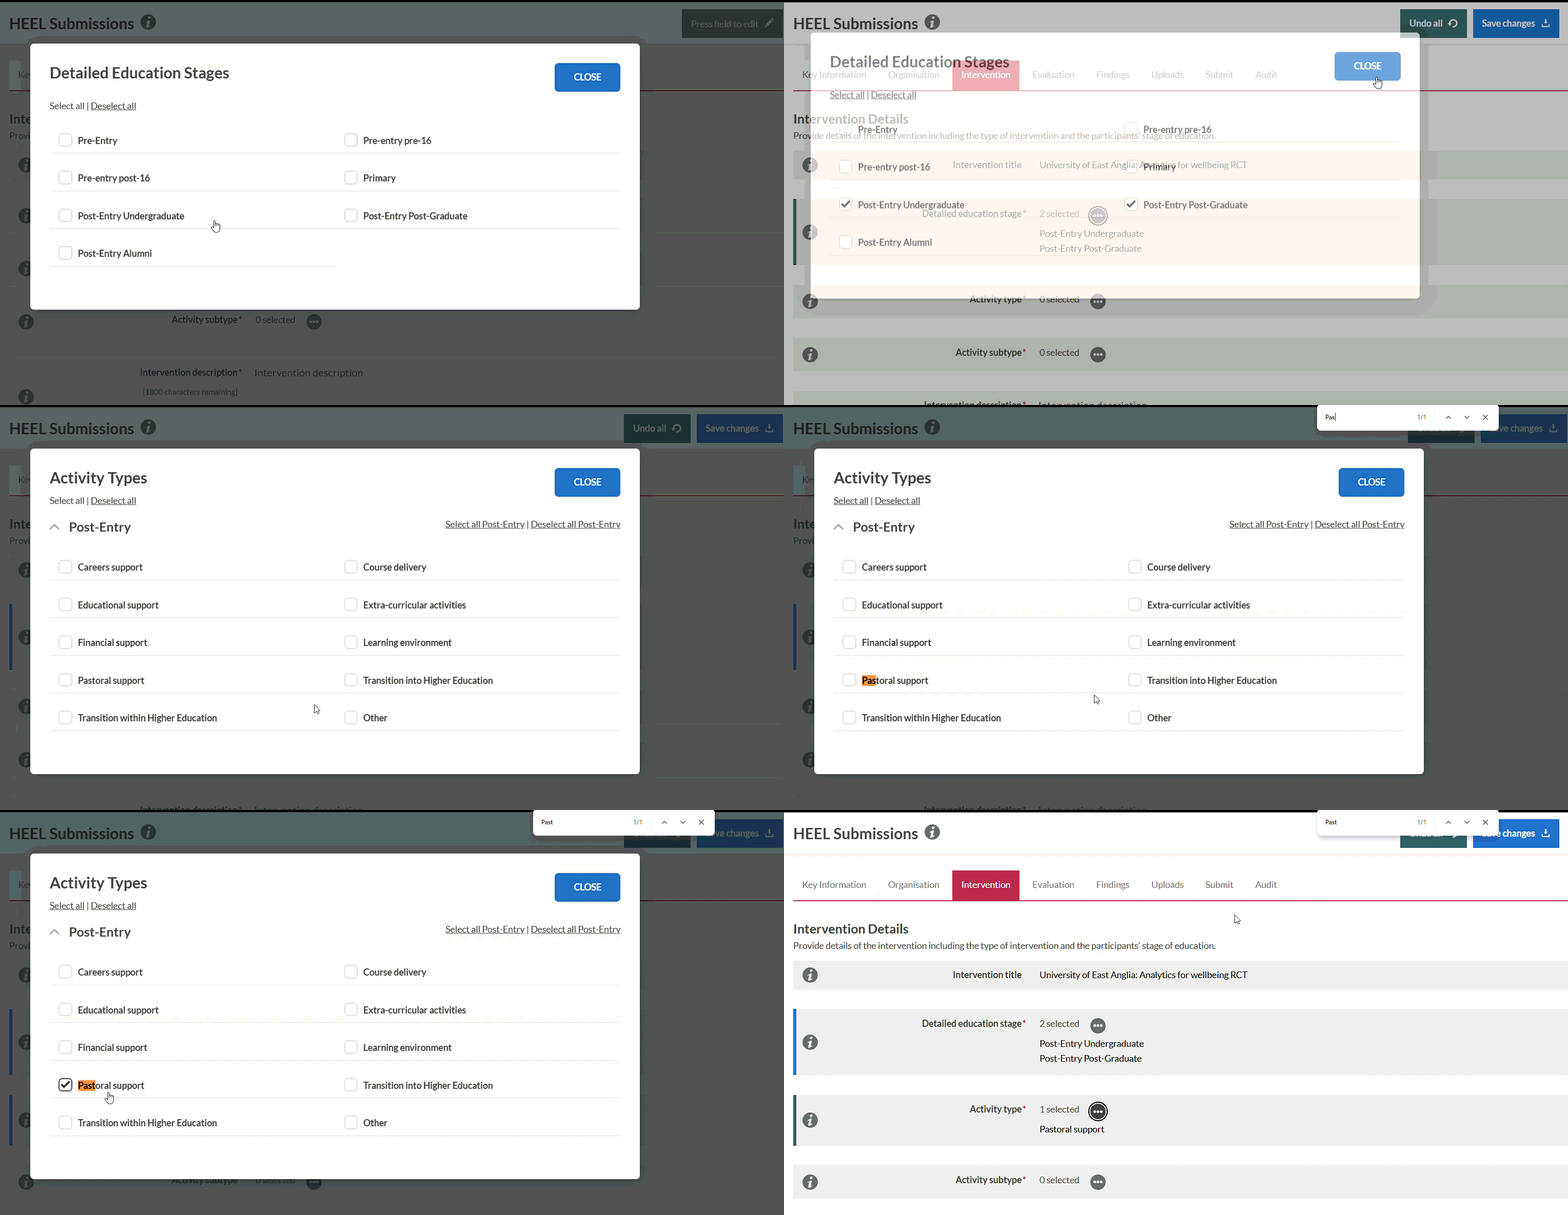
Fields with a round circle with three dots (⋯) will give you options from a menu. Click on the three dots to see the options. You may click on more than one option.
Remember that you can select more than one option in most cases.
Where there are lots of options, you can search ‘Ctrl F’ and type in search words.
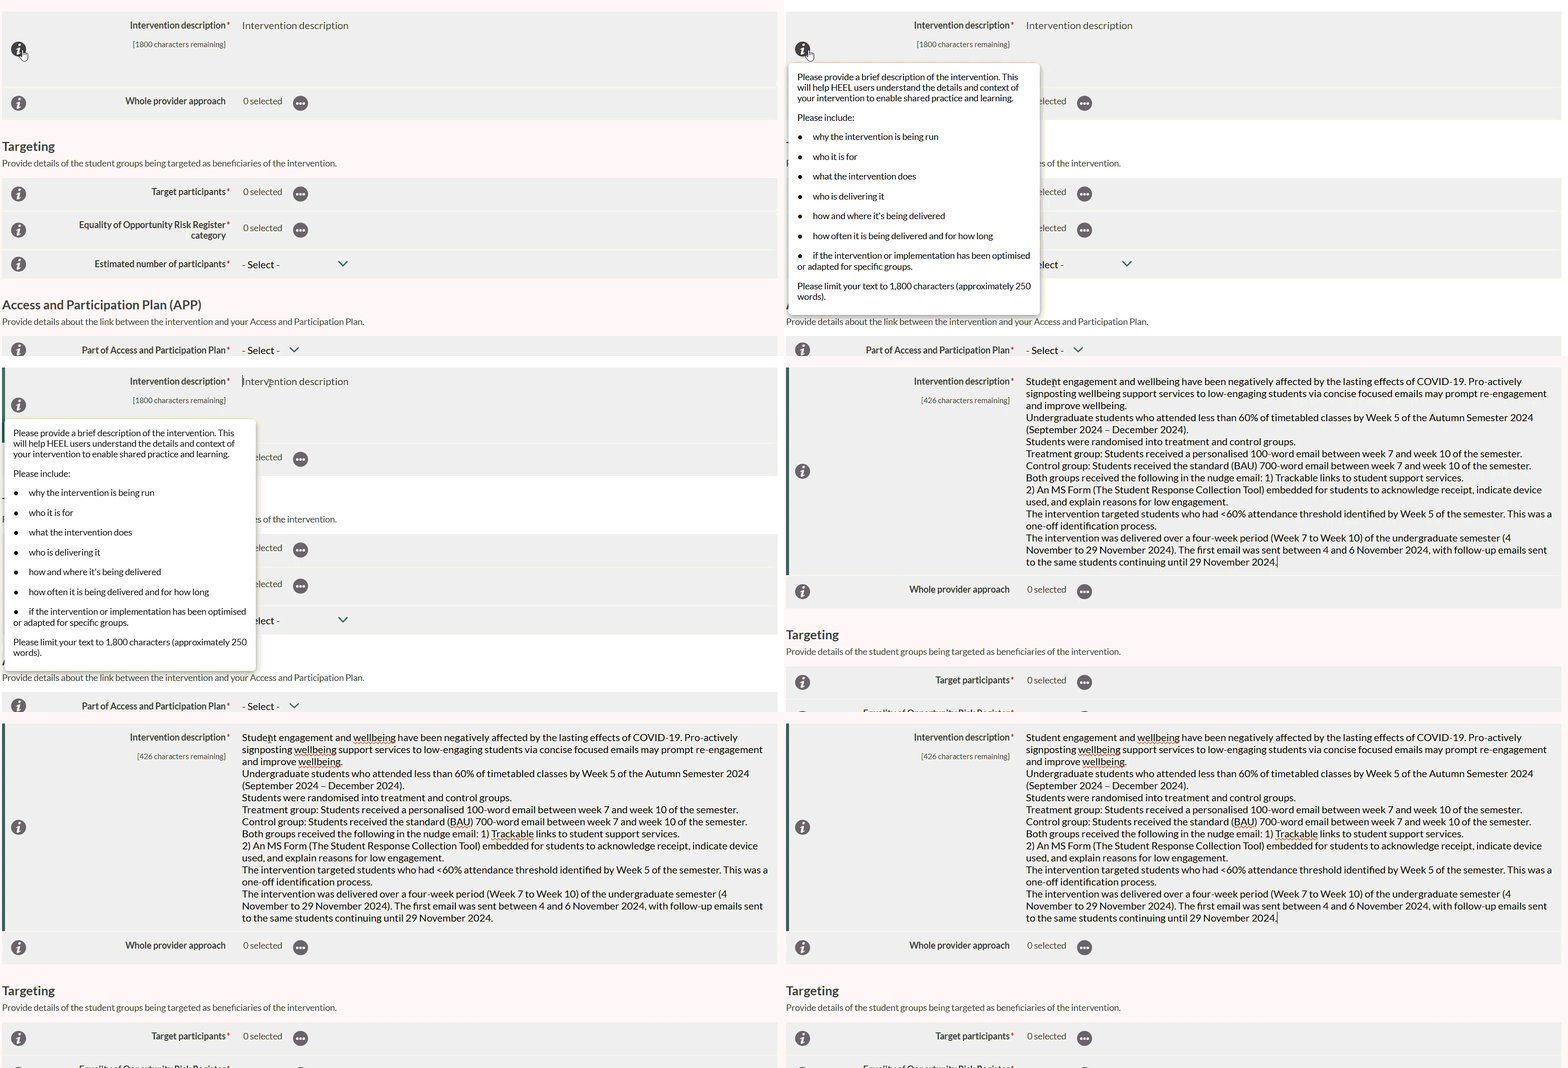
We suggest you prepare text before submitting. You have 1,800 characters (approximately 250 words).
Upload any additional documents such as a report or theory of change.
Upload in PDF format.
Select which type of document it is.
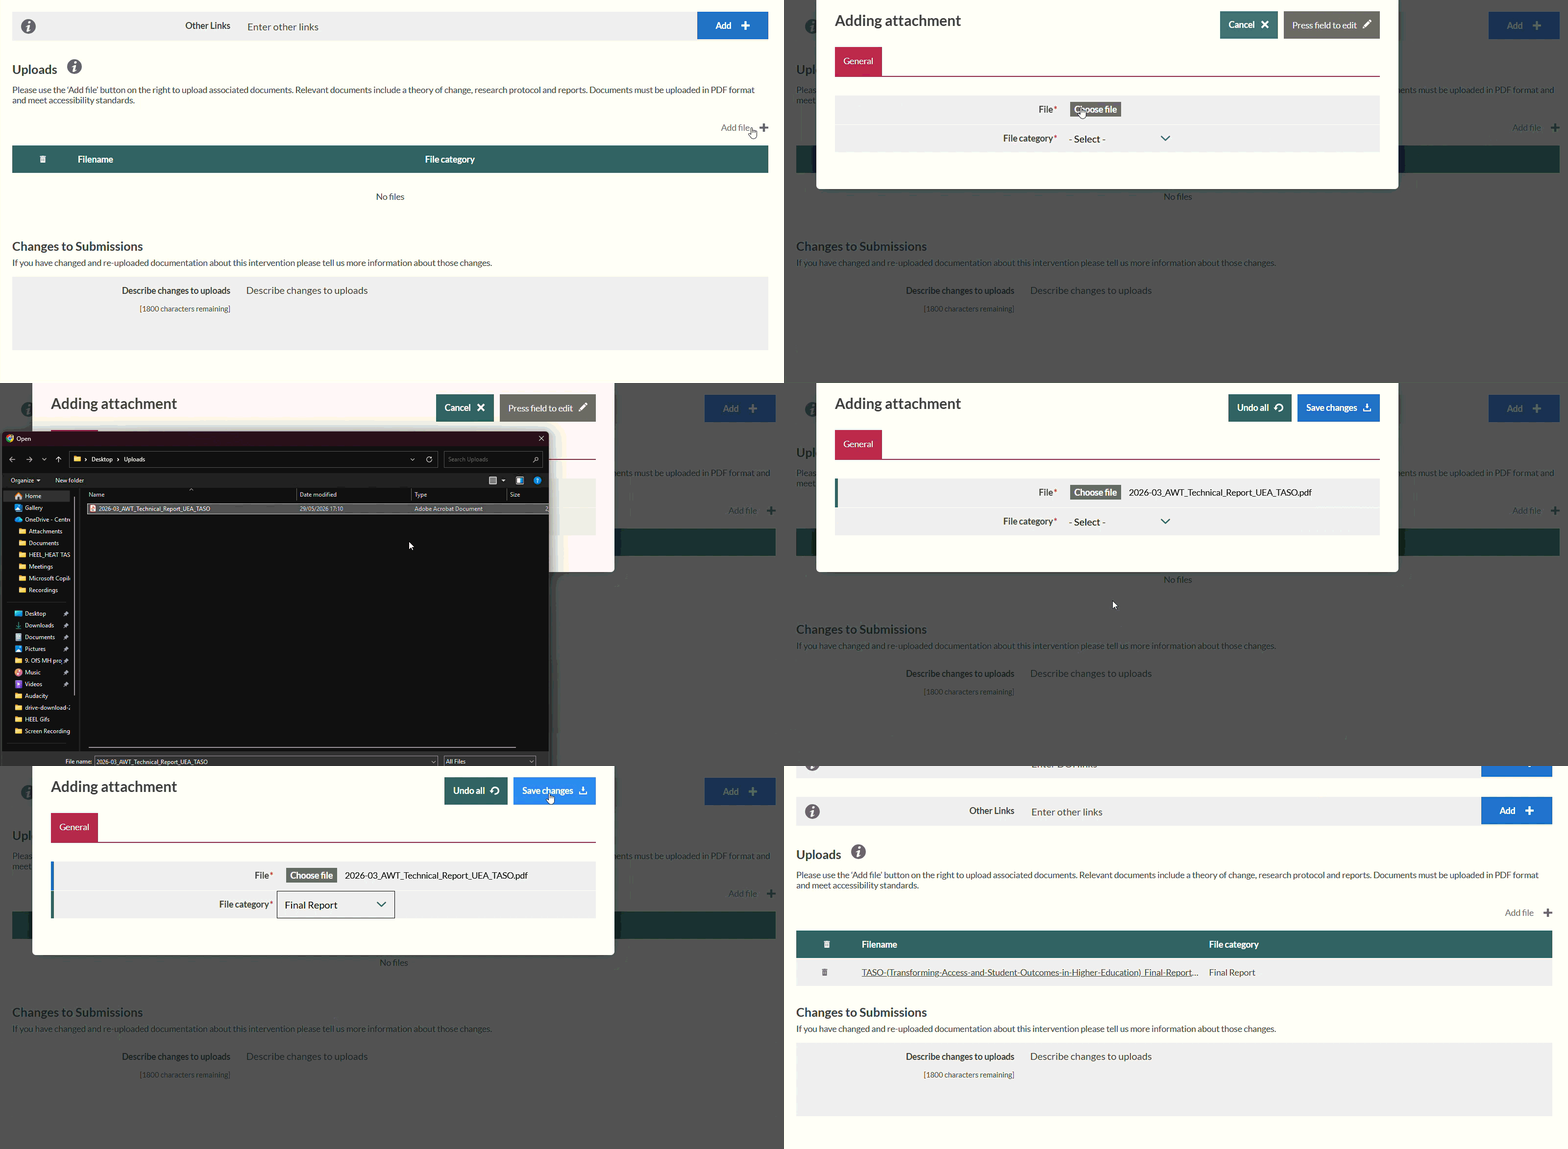
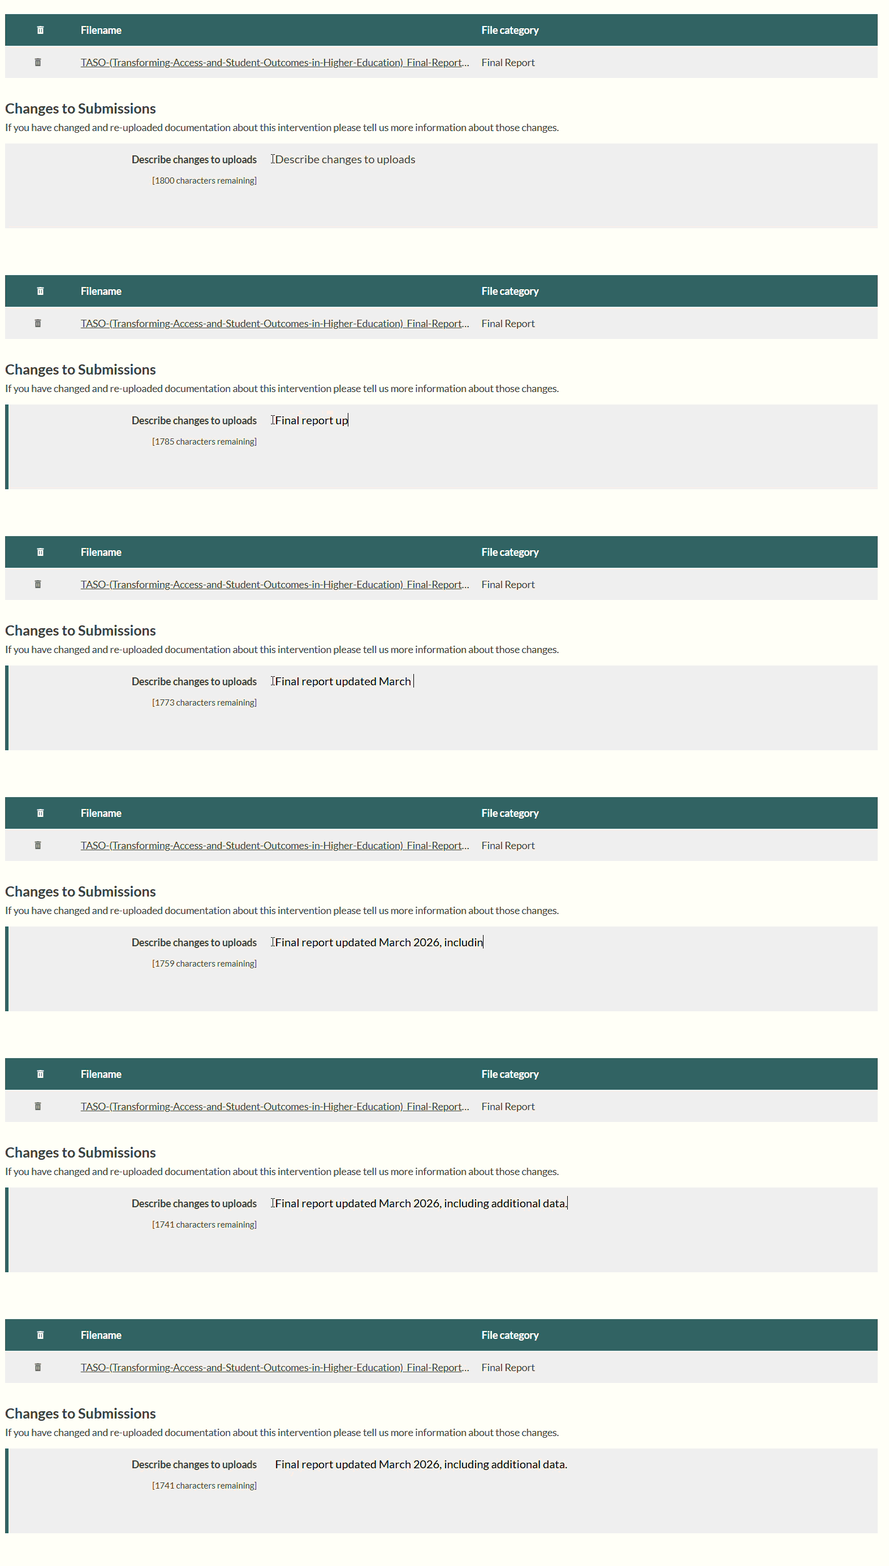
You can delete and amend any uploads. If you make any changes, please outline these changes briefly in the field below the ‘File Uploads‘.
When you are finished, go on the ‘Submit’ tab.
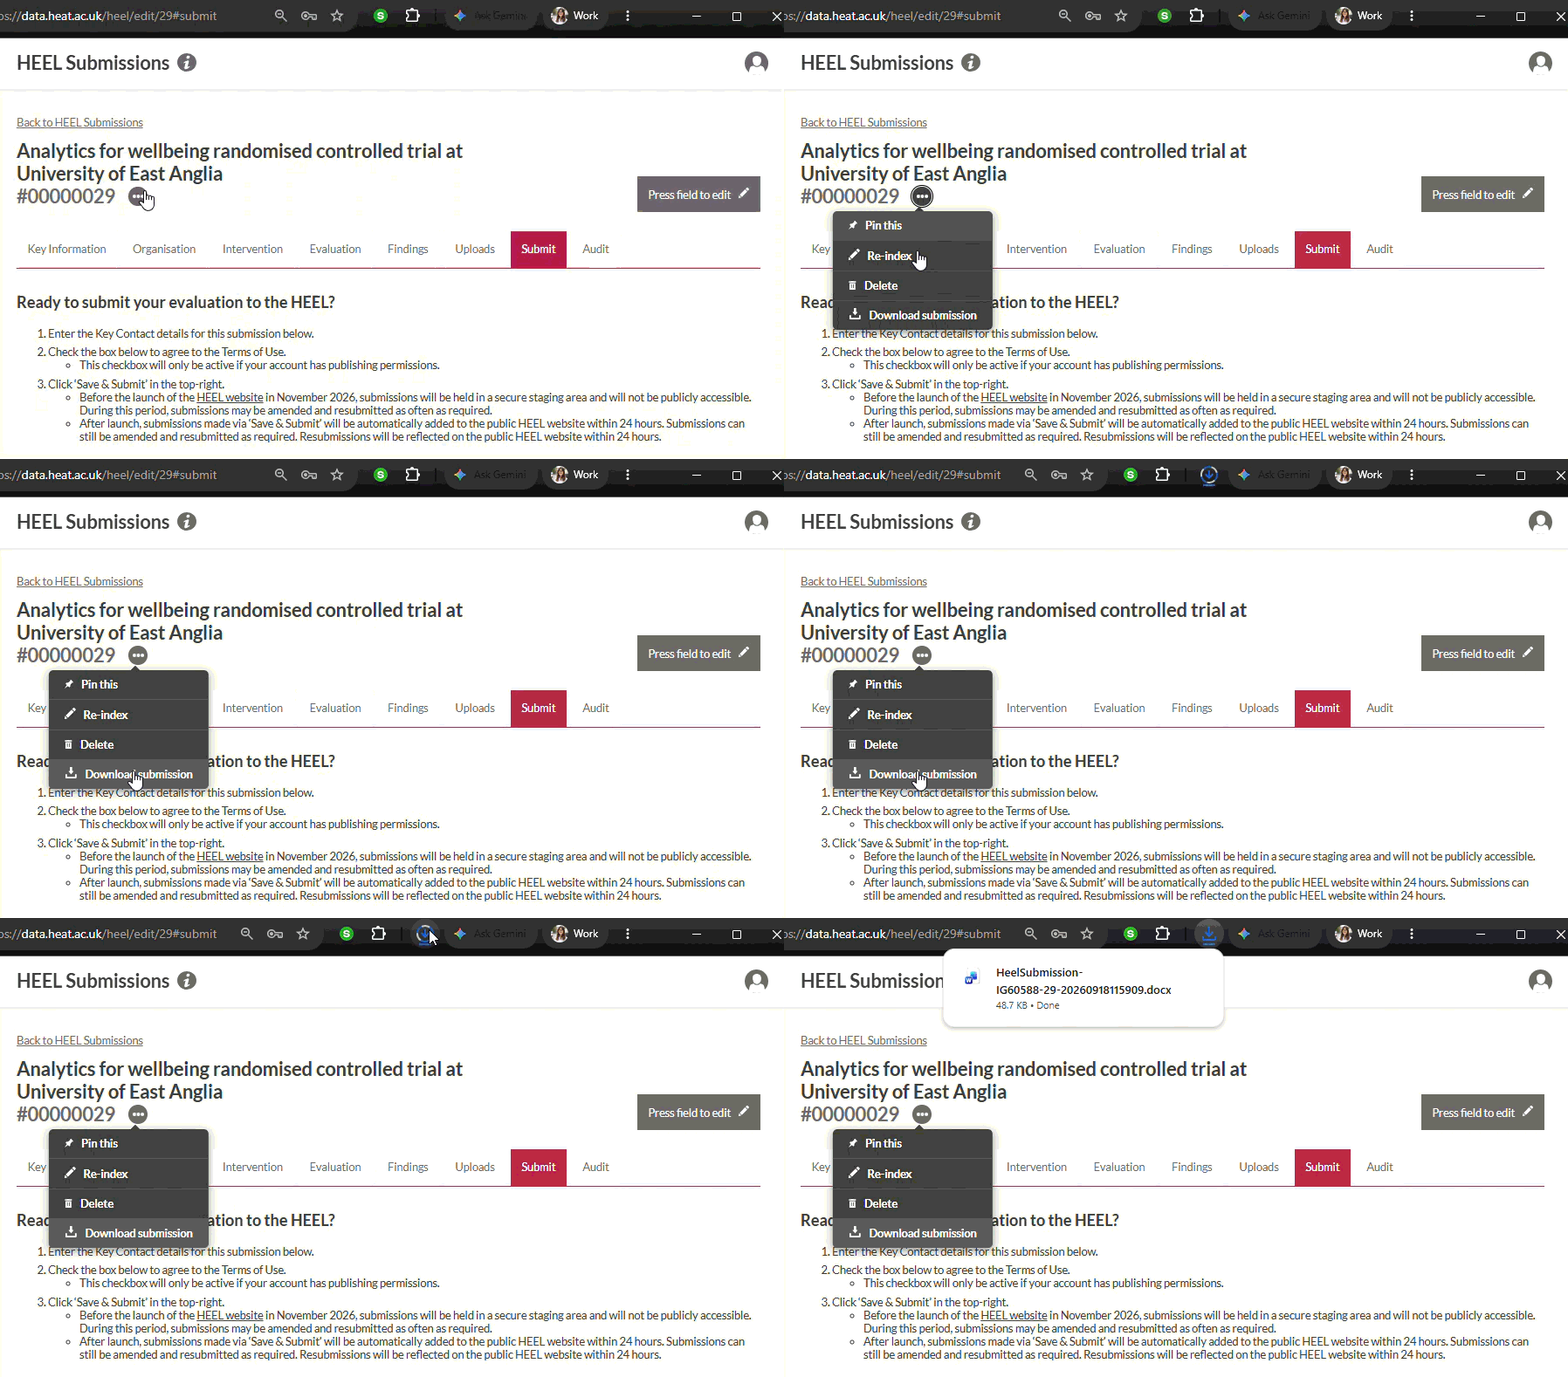
You can download a draft of your submission to send to colleagues (in Word format). Go to the intervention title at the top, and click the round circle with three dots (⋯) that will open up to a menu. Click ‘Download submission’.
You also have the option of deleting your submission before publication with this button.
When everything is checked, you can check the box at the bottom of the ‘Submit’ tab.
Add the contact information. This information will be publicly accessible and will enable others in the sector to contact you about your evaluation. We encourage you to use a departmental email address.
You will have to agree that you have permission to submit the contact information, and agree to the terms and conditions of the HEEL.
You also have the option to sign up to TASO’s newsletter.
Finally, click ‘Save & Submit’.
After you have published, you cannot delete your submission. You can edit any part of your submission. This is particularly important for those needing to update their evaluations with new findings.
To view your evaluations, go to the home page and use the search box. You can also click on ‘View all’ underneath the search bar to see all your evaluations.
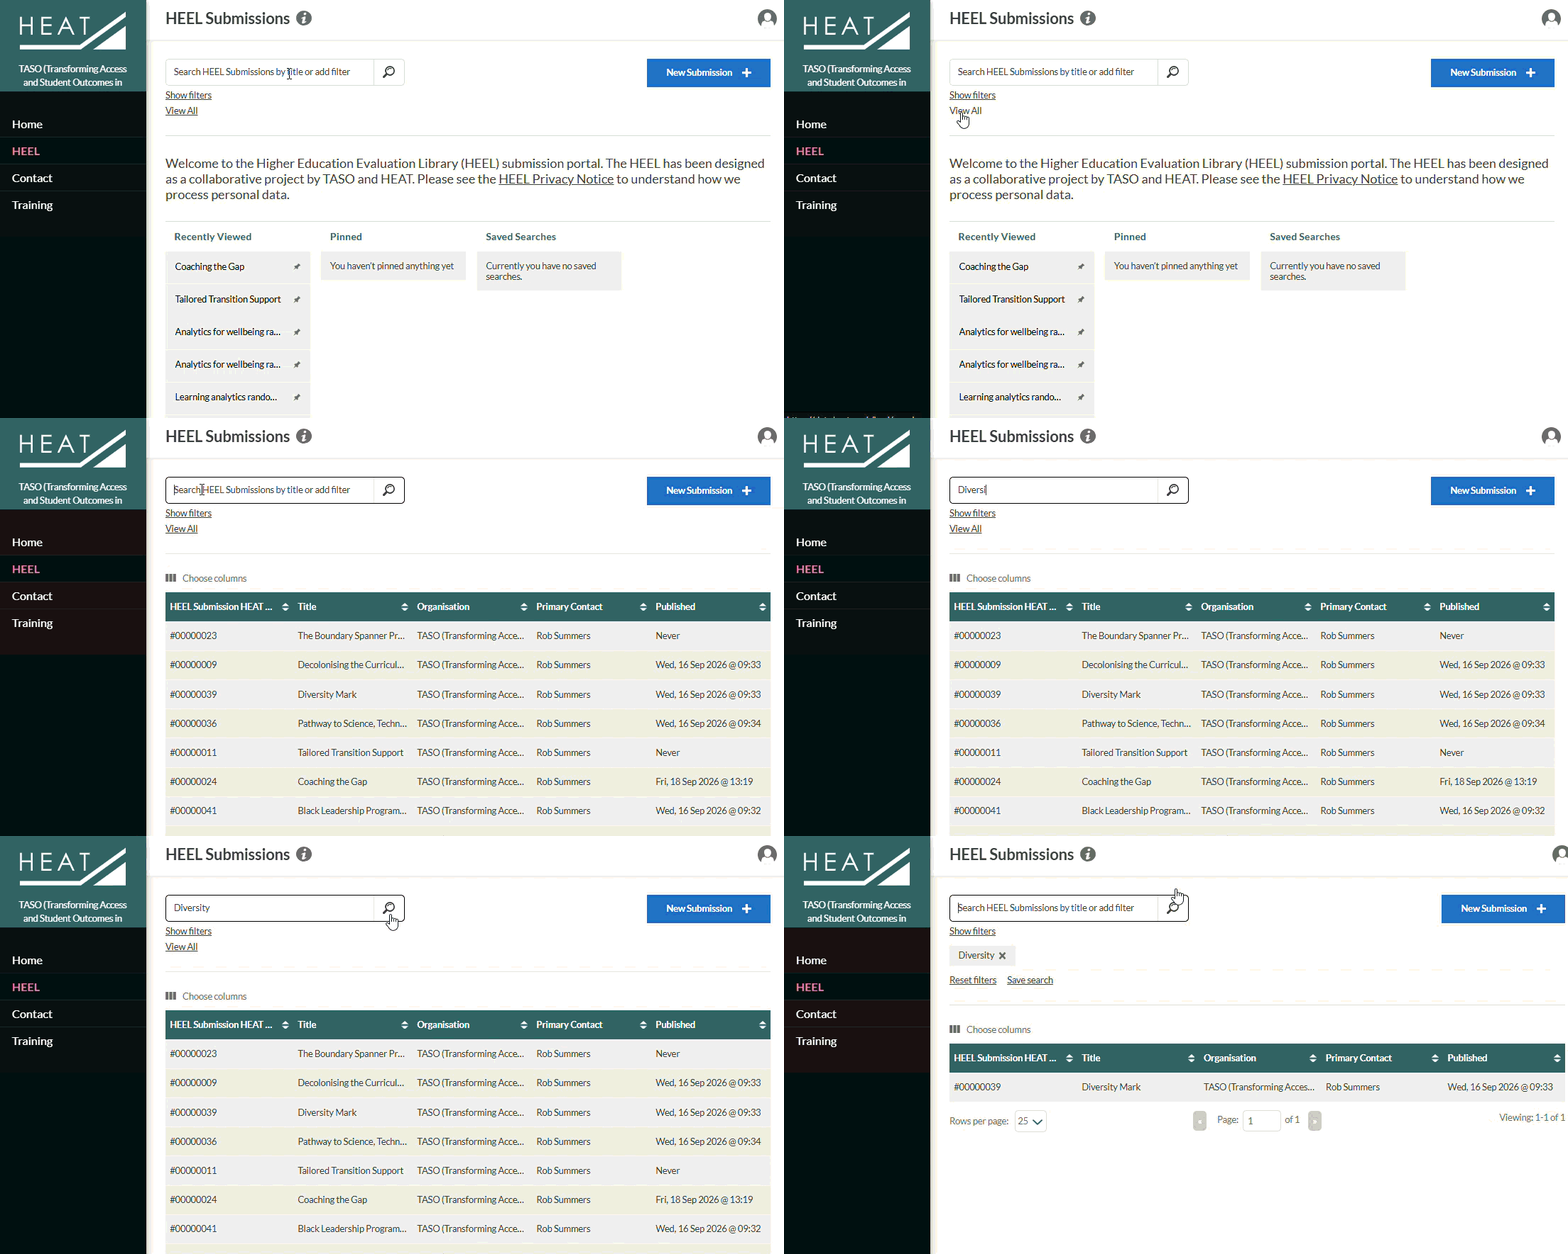
To edit, open the evaluation to access the submission form again. Remember to Save as you go. You will have to ‘Submit’ your evaluation again by checking the terms and conditions on the ‘Submit‘ tab.
Please use this form to send us feedback and ask questions.